
How to Make a Reusable Face Mask: An Easy Step-By-Step Guide
We’re currently living in a society where must wear face masks when going into shops and on public transport. There are so many face masks with funky designs being sold, like the ones I reviewed last week (including a giveaway!).
For those of you who want something unique and those who find the shop bought ones don’t fit your face, you can make your own ones!
I’m not an expert crafter and sewing doesn’t come naturally to me, so I’ve found a simple design from a BBC article which I slightly amended and thought I’d share in case you’re similar.
I have used some gorgeous fabrics from the Yorkshire Fabric Shop for my latest masks.

They have a great range of fabrics including upholstery fabrics, furniture fabrics, curtain fabrics and more. These include various water repellent fabrics which is handy when you have little ones!
The fabrics they offer include plain styles, floral, geometric, tartan and some great ones that children would love.
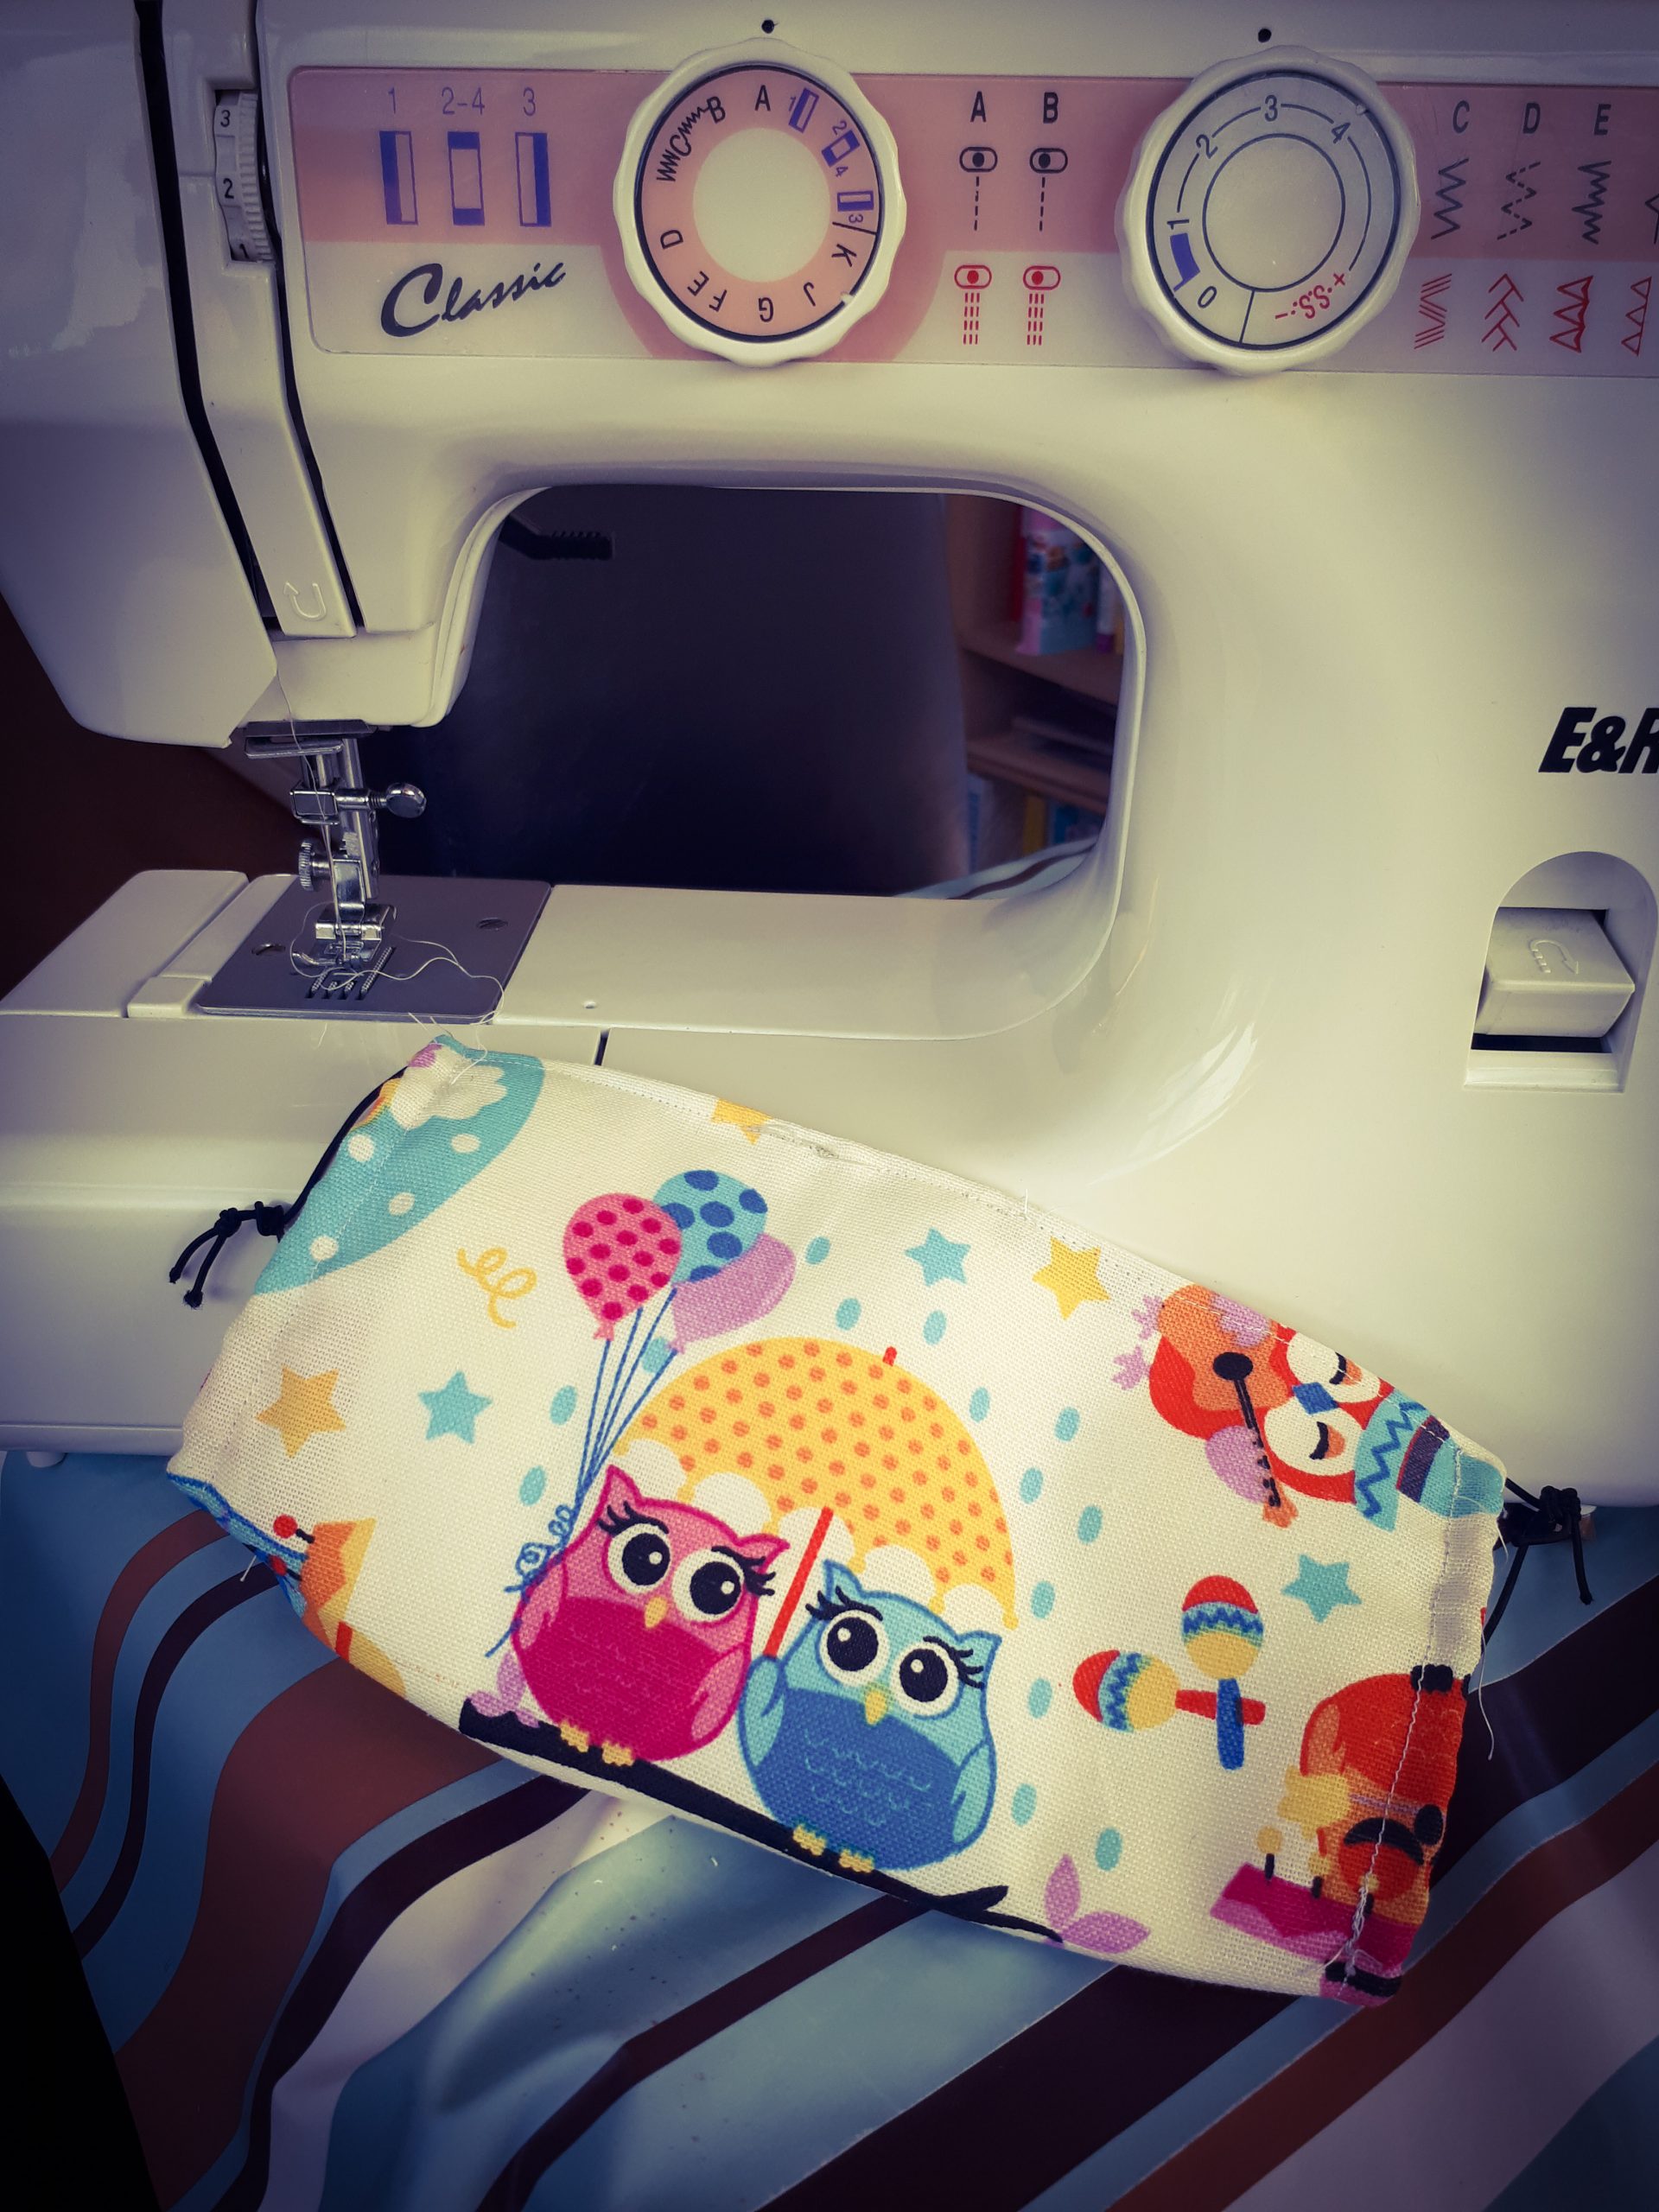
I chose a purple butterfly pattern, a cute owl pattern and a bold red material to make a range of masks that would appeal to the adults and children in my family. I’ve found these materials to be strong, good quality and they are perfect for masks.
Face Mask Step-By-Step
Materials needed:
Fabric
Needle and thread or sewing machine
Fabric Scissors
Elastic
Kitchen towel

Step 1: Cut two pieces of fabric 25cm (width of your face) x 15 cm (height from chin to mid nose).

Step 2: Put them on top of each other and then fold over the top edge 0.6cm and stitch it. You can hand sew or use a machine. I find the sewing machine is a much stronger and secure stitch, but you may be good at sewing!

Step 3: Fold the bottom up (I do about 2.5cm) and stitch 3cm inwards from each edge, leaving a gap to put your filter inside the mask.

Step 4: Fold the shorter sides in by 1cm and stitch. Make sure the gap is big enough for the elastic to thread through, or have the elastic already in place.

Step 5: Tie knots in the elastic and put a filter inside. I use kitchen roll folded over.

I’m going to look into other templates, because I like a style I’ve seen where the mask goes higher up the nose as it has a tighter fit. If I find an easy template I will share again.
The fabric featured in this post was gifted for the purpose of this review. No payment was received and all opinions are honest and my own.
1 Comments
Clever Face Masks from Victoria Ann Studios for Lipreaders & SEN Children – Single Parent Pessimist
25th August 2020 at 7:00 am
[…] masks are now everywhere. As you know I’ve recently even attempted to make my own, but they aren’t anywhere near as good as some I’ve […]